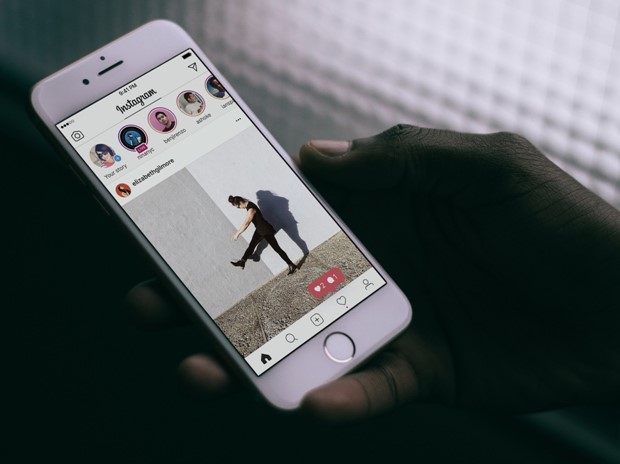
Instagram is a visual platform, and it inspires creativity even in the most unlikely of us. Think about the time you decided to go the feed of your favorite accounts, and decided to scroll and check the photos or videos they post. You will find all of them have a common element – the ability to showcase interesting images, all which get your attention quickly and remain memorable.
Therefore, it is not difficult to see why photos on the platform are so important – they are keyto building an excellent strategy, regardless of whether it is a business or personal account. Many people seek to increase their engagement levels as well through services that increase Instagram auto comment on your new posts, but it is very difficult to succeed when your content is of low quality.
The good news is – you do not require expensive editing equipment or hiring photographers at insane prices. All you need is a camera (even your smartphone camera can do wonders), some editing software, and a bit of practice. Think of the whole process as building the unique characteristics of your brand and promoting a uniform aesthetic, which will increase the chances of people following your brand.
Begin by having high quality shots
The secret, ultimately, of creating a great post starts from taking a high quality photo in the first place. The best light to use is natural (since artificial light can create very harsh shadows that distort the quality), and have the approach of a professional photographer by taking multiple photos. I this way, you are also increasing the choices you have and picking the best ones to share.
Your smartphone camera also has a HDR mode (high dynamic range). This is always your best friend every time you take shots in dim light, have outdoor photos, or doing close-up photos.
In the event you lack any inspiration or time to take multiple shots, you can always try stock photos. In fact, the amount of photos you can get from stock photography are numerous, and you can always find one to suit your needs. This method is also a smart choice if you have products you want to sell but they do not have physical releases, or you lack the budget to hire equipment or personnel to take professional photos.
Just a point to note: make your pictures have a width of 1080 pixels, because they look best with Instagram. The platform will crop it as a square, but you can always adjust it if you would like.
Select your filter
Think of photo filters as ice cream flavors – the individual preferences will always vary, but you will like some more than others. When you are seeking to establish your own preferences, the best way is to sample them widely and see what works for you.
The best Instagram filter according to a study done in the United States is Clarendon, because it adds some highlighting and brightening effects that tend to make many pictures look good. That might also be due to it being the first filter you see on the filter list, but that might also not be true.
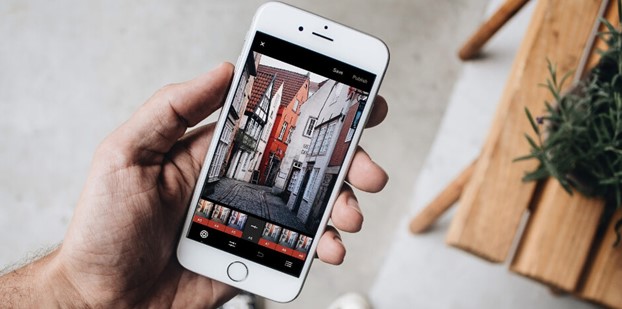
It will all depend on the aesthetic you want to set for your brand, so make sure to explore the range of options you have. You can also choose to keep it simple and grabs your attention. You can also adjust the details of the filter itself. In addition, you can rearrange the order of your Instagram filters, in order of the ones you use the most to least. That makes it easier for you to quickly edit photos.
Adjust the lux settings
This is the sun icon that is above your photo as you edit. This is the tool for adjusting the exposure and contrast of your photos, which can make the details stand out. In this way, it is similar to contouring, although it uses pictures in general instead of your face. It is also a good way of improving underexposed pictures and making them look better.You can also adjust this feature by moving the scale to increase intensity and contrast.
Work on some other settings
You can further adjust your other settings though tapping the ‘edit’ button. These include alignment of photos, adding vignette effects, increasing the saturation to add color, and adjusting the structure to enhance sharpness and contrast.
Just keep in mind that you do not need to use all of these effects, so use them wisely to enhance the beauty of your photos.
Make small changes in individual photos and make a multi-image post
In case you are sharing many photographs within one post, it is possible to edit individual ones separately. This is through the Venn diagram icon within the bottom right corner of the screen, to increase your choices for individual edits.
When you do not do this, Instagram applies the edits f your first photo on all your photos in the exact same way. If the photos were within varying conditions or have different subjects as the focal point, it is important to edit them individually.
You can post later or immediately after finishing your edits
If you have finished editing but are not ready to post your photo, you can click to the next screen, which allows you to write a caption, then click backwards until the beginning of the editing process. Instagram then asks you if you would like to save the image as a draft (this also includes all the edits you have done), then you can post them later.
The next time you head over to the platform to make a post, you can use your draft and post it when you are ready. For many instances, it helps you edit multiple drafts and save them, then post them when you are ready.
Final thoughts
Editing your Instagram photos is a great way of setting your personality, so it is important to set them in the best way.


